


This guide starts after Navet has connected to a provider. Complete the first-run choices, check that your home loaded, and make one useful change to Home. If your dashboard is already open, continue with Check that your home loaded below.
Prefer a walkthrough? Watch the setup guide for login, onboarding, and your first Home card.
Complete the startup wizard
When Navet has loaded provider entities and dashboard onboarding is incomplete, it asks How should Navet start your dashboard? Choose a starting point:
- Start with all entities makes the connected entities visible in room views, with controls supported by your provider and devices. Add cards to Home through Customize → Add card.
- Start with a blank dashboard hides the loaded entities and clears the Home layout and custom cards. Add the controls you want afterward through Customize → Add card.
- Import a config file restores a Navet
.yamlor.ymlexport. A valid file is applied immediately and opens the dashboard with its saved preferences. Back up your current configuration before importing over it.
For all entities or blank, complete setup:
- Choose the interface language, 12-hour or 24-hour time, and Celsius or Fahrenheit. These preferences update as you select them. Choose Next.
- Choose Liquid Glass, Dark, Light, or Black, then a built-in or custom accent. Optionally select a built-in wallpaper. Use Back to revisit the preceding step.
- Choose Continue to my dashboard to apply the appearance choices.
- Let the welcome reveal finish, then choose Enter my dashboard.
The startup appearance step offers manual themes and built-in wallpapers. After setup, Settings → Appearance also provides Auto appearance, wallpaper upload/replacement, and wallpaper removal. Change language and formats later under Settings → Language & units.
If you are trying the public demo, it opens a prepared dashboard instead of this startup wizard. Use a connected installation for the complete setup and editing steps in this guide.
1. Check that your home loaded
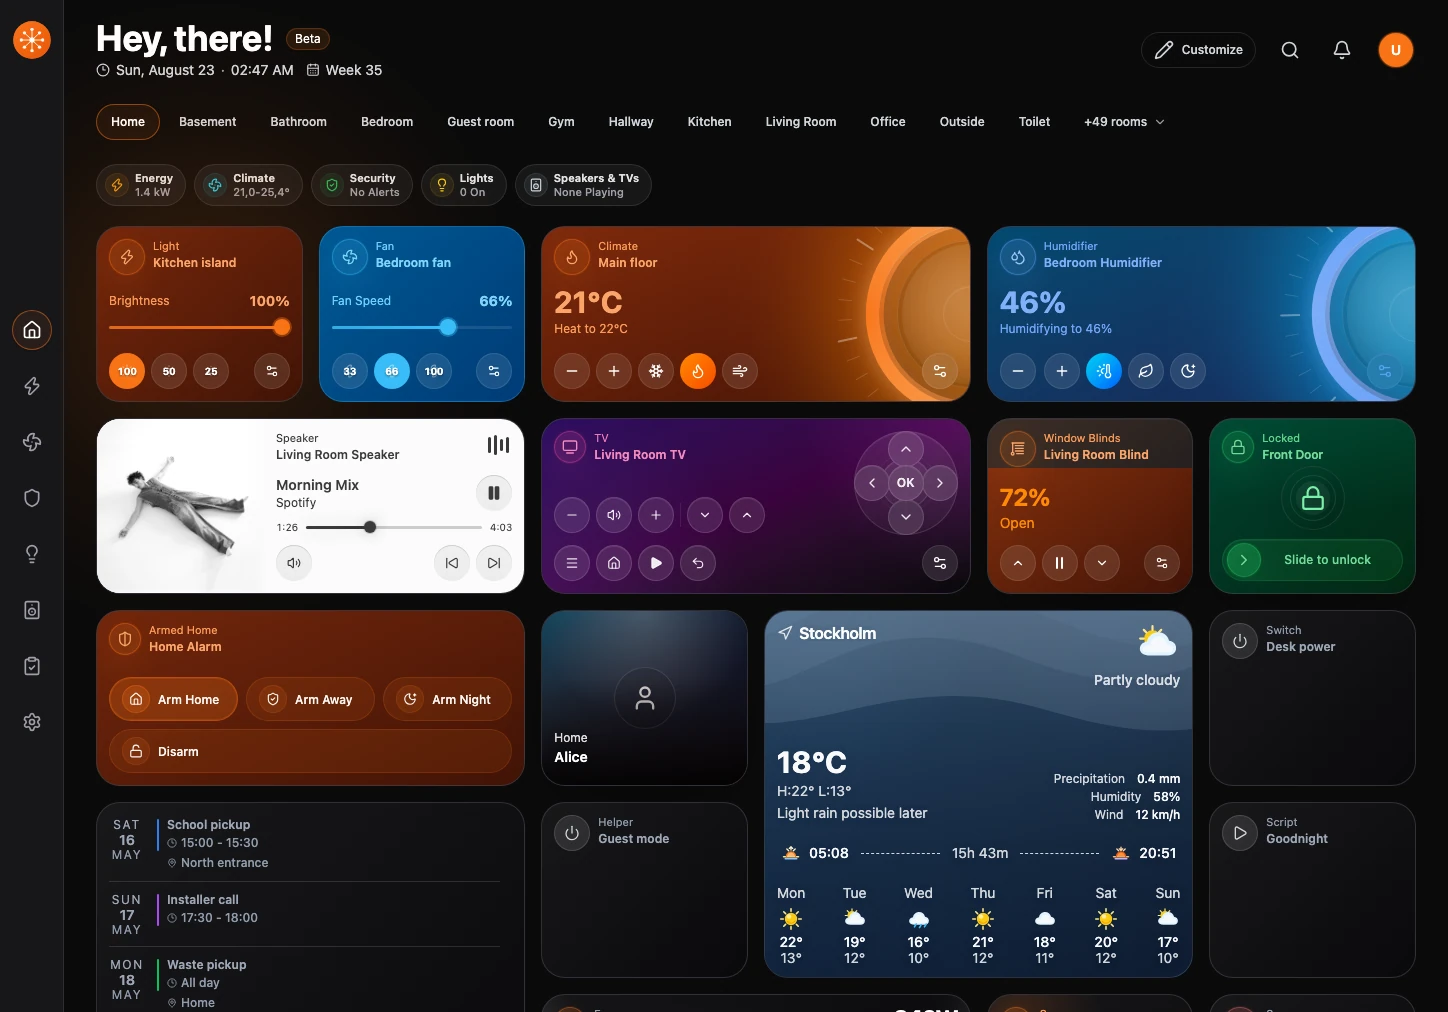
Open Home and look at the room navigation.
- Your provider rooms should appear by name.
- Home in the room navigation returns to the overview. With multiple dashboards, the overview control can show the active dashboard’s name.
- Choosing a room narrows the dashboard to that room.
- Cards show the controls supported by each device.
For missing rooms or devices, follow Rooms, devices, or entities are missing.
2. Learn the main sections
Use the section navigation to move between:
- Home for the editable room-first overview.
- Energy, Climate, Security, Lights, Media, and Household for focused views.
- Settings for appearance, dashboard behavior, providers, connected screens, and backup.
Not every provider supplies every advanced section. An empty or unavailable section can be a capability difference rather than a connection problem.
3. Open a device
Choose a familiar light, climate device, speaker, lock, or camera.
Depending on your interaction setting, tapping the card either performs its common action or opens its controls. Use the settings button on a card when you want to change its display name, room, size, or other card-specific options.
4. Make one Home change
- Return to Home.
- Choose Customize.
- If Home is empty, choose Add Card, find a familiar entity, and choose its Add button. Close the library to return to the layout.
- Move a card or change its size. Use Undo if the result is not useful.
- Choose Done to leave edit mode.

Dashboard changes save to your Navet profile. They do not rename or reconfigure the underlying device in your provider unless a dialog explicitly says that the provider will also change.
5. Choose what to learn next
- Personalize Home: Customize your Home dashboard.
- Add something missing: Add cards, devices, and widgets.
- Build a different view: Create a second dashboard.
- Prepare a tablet: Set up kiosk and Wall Display mode.
Expected result
You have completed the startup choices, can move between rooms and sections, and can make a reversible change to Home. To revisit setup, follow Restart onboarding.